Professor Richard Leach 
Title: Towards Fully-Automated Complex 3D Shape Measurement
Description:
Biography: Professor Richard Leach currently holds the Chair in Metrology in the Faculty of Engineering at the University of Nottingham where he has established The Manufacturing Metrology Team to investigate information-rich metrology of surfaces, to support next-generation manufacturing technologies. Drawing on concepts such as machine learning and sensor fusion, his research is changing the approach to quality control in manufacturing. Prior to his current position, he spent 25 years at the National Physical Laboratory and led a team in surface and nanometrology. He is an internationally recognised researcher in the field of surface topography measurement, particularly in the area of traceability for areal surface metrology, including optical instruments. He has over 480 publications, including 6 textbooks. He is the European Editor-in-Chief for Precision Engineering journal. He is a Fellow of the Institute of Physics, the Institution of Engineering & Technology, the Institute of Measurement & Control, the International Society of Nanomanufacturing, the Higher Education Academy, a Sustained Member of the American Society of Precision Engineering and a Council Member of the European Society of Precision Engineering & Nanotechnology. Richard is a visiting professor at Loughborough University and the Harbin Institute of Technology.
 Dr. Marcin B. Bauza, Head of ZEISS Additive Manufacturing Process and Control, ZEISS Industrial Quality Solutions
Title: Advanced Feedforward Control as a Service from the Cloud
Description: Additive Manufacturing (AM) is bringing new dimension to the manufacturing world, primarily due to its freedom to create complex geometries and ability to create unique material properties at selected part locations. However, the freedom of shapes and new material properties comes at cost of AM process complexity, in broad terms in AM the creation of material properties and part form happens all at once, significantly increasing the difficulty of the AM process. Therefore, it is critical, to obtain proper understanding of how the form, size and microstructure of the final components is influenced by the processing parameters. How to ensure the quality of the powder, how does the powder affects powder bed compactness and sintering process, what microstructure is created and how to heat treat the sintered part, how to define a part chemistry to validate proper material composition, how to identify part dimensional accuracy, surface finish inside and outside of the part, as well as correlating different characteristics to ensure much faster recipe development. Those are interconnected process events, however if controlled; the door will open to unprecedented capabilities. It is possible to create multi crystallographic structures within the same part, it is possible to differentiate part properties per feature or location, none of this is possible with current subtractive methods and opens entire new design and system creation possibilities.
Biography: Dr. Marcin B. Bauza is globally leading AM group at ZEISS focusing on improvement of the AM process by significantly improving yield, reducing recipe development time, and enabling broad materials characterization with use of corelative quality control and process feedback. He is also leading technology and business development in relation to high speed and 100% inspection of surfaces and dimensional metrology, utilizing optical techniques including visible light and X ray sources. In addition, Marcin is a member of ZEISS Global Leadership Team and member of the ZEISS North America Senior Leadership Team. During his career, Marcin has been awarded with numerous patents, written more than 20 publications, and serves as reviewer for Precision Engineering, Wear, and Measurement. Marcin also served as Director and Board member of the American Society for Precision Engineering (ASPE) and has been actively involved with ASPE since 2002. He is also member of ASME and CIRP.
Marcin received his Ph.D. in Mechanical Engineering from University of North Carolina at Charlotte in 2005 with focus on design of metrology systems. Additionally, in 2012 he received EMBA from Duke University with concentration in strategy
 Jitka Metelkova
Title:Improving the surface quality of laser powder bed fusion parts
Contributors: Metelkova1, M. Sinico1, U. Paggi1,2, A. Witvrouw1, H. Haitjema1, L. Thijs2, W. Dewulf1, B. Van Hooreweder1
1 KU Leuven, Member of Flanders Make; 2 3D Systems Leuven
Description: After an introduction to the additive manufacturing (AM) and the manufacturing metrology (MM) groups at KU Leuven (Belgium) by the moderators of this session, a scientific presentation on improving the quality of metal AM parts will be given by Jitka Metelkova.
Surface quality and geometrical precision of parts manufactured by laser powder bed fusion (LPBF) are often insufficient for their final application. This work presents insights into the LPBF process and shows some possible means of improving the quality of up- and down-facing surfaces, as well as elevated edges of the part. The presented results were achieved by multiple work groups from the Precision Additive Metal Manufacturing (PAM2) consortium, namely the Additive Manufacturing and Manufacturing Metrology team at KU Leuven, and 3D Systems Leuven.
Biography: Jitka Metelkova graduated of both Brno University of Technology (Czech Republic) and Arts et Métiers ParisTech (France), with a background in mechanical engineering. She works currently as a PhD researcher in the Additive Manufacturing team of KU Leuven (Belgium). Her research focused on increasing precision of parts made by laser powder bed fusion using in-situ laser machining
Moderators: Han Haitjema
 Ann Witvrouw received an MS degree in Metallurgical Engineering in 1986 from KU Leuven, Belgium and both an MS degree in Applied Physics in 1987 and a Ph.D. degree in Applied Physics in 1992 from Harvard University, USA. In 1992 she joined imec, Belgium where she worked on the reliability of metal interconnects until the end of 1998. In 1998 she switched to research in Micro-electromechanical Systems at imec, focusing on advanced MEMS process technologies. From 2000 to 2013 she has been working on MEMS integration at imec, first as team leader, then as a program manager and last as a principal scientist. She also has been a guest professor at the Department of Metallurgy and Materials Engineering, teaching part of a course on ‘Nanomaterials for nano-electronics’ and a project coordinator at the Department of Physics and Astronomy, both at KU Leuven. Currently she is the research & innovation manager in Advanced Manufacturing at the department of Mechanical Engineering, also at KU Leuven, managing the valorisation of manufacturing research by setting up new research projects and collaborations. She currently is project coordinator of the H2020 MSCA project PAM2.
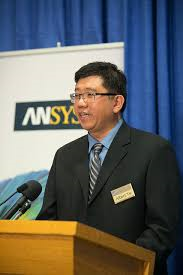 Dr. Albert C. To
Title: Mechanical and Materials Design for Additive Manufacturing
Description: This seminar will present several innovative materials/mechanical design concepts and design optimization methods recently developed at University of Pittsburgh for various metal additive manufacturing (AM) applications. First, we will discuss some novel designs of cooling channel structures of turbine blades for enhancing cooling efficiency. Next, we will present our development of binder jetting process for printing metal filters capable of filtering viruses, as well as post heat treatment design of laser powder bed fusion materials. Then we will discuss development of topology optimization methods for the design of functionally-graded lattice structures and negative stiffness materials to satisfy manufacturability constraints. Next, a support structure design optimization method will be presented to reduce residual stress and distortion in an AM build. The key novelty of this method lies in the formulation of a new inherent strain model which enables fast and accurate prediction of part-scale residual stress and deformation resulting from laser processing. Finally, we will discuss future research directions toward an integrated design optimization tool for metal AM.
Biography: Dr. Albert To is currently Professor in the Department of Mechanical Engineering and Materials Science at University of Pittsburgh, where he also serves as the Director of the ANSYS Additive Manufacturing Research Laboratory. He is also the Founding Director of the MOST-AM Consortium, which is a public-private partnership of 31 organizations formed to address the most pressing needs in modeling and simulation for additive manufacturing. Dr. To received his B.S. degree from U.C. Berkeley and M.S. degree from Massachusetts Institute of Technology. He obtained his Ph.D. from U.C. Berkeley in 2005 and conducted postdoctoral research at Northwestern University from 2005-2008. He joined University of Pittsburgh as Assistant Professor in 2008 and was promoted to Associate Professor in 2014 and to Professor in 2019. His current research interests lie in design optimization, fast process modeling, and process-microstructure-property relationship for metal additive manufacturing. The optimization methods his group developed has been adopted and implemented by ANSYS in their engineering simulation software. Dr. To has over 90 peer-reviewed journal publications in journals such as Additive Manufacturing, Computer Methods in Applied Mechanics and Engineering, Journal of Mechanics and Physics of Materials, and Scripta Materialia. He is currently an associate editor for Additive Manufacturing and editorial board member of International Journal of Rapid Manufacturing and Journal of Micromechanics and Molecular Physics. He has been a recipient of the NSF BRIGE Award in 2009, the Board of Visitors Faculty Award from the School of Engineering in 2016, and the Carnegie Science Award in the Advanced Manufacturing and Materials Category in 2018.
Moderators:
 Dr. Xiayun Zhao has been an assistant professor in the Department of Mechanical Engineering and Materials Science at the University of Pittsburgh since August 2018. She received a B.S. from the Department of Precision Instruments in Tsinghua University (China) in 2006, and Ph.D. in Mechanical Engineering from Georgia Tech (USA) in 2017. Her research lab, the ZIP-AM (ZXY Intelligent Precision Additive Manufacturing) Laboratory, aims to lead the significant area of “Measurement Science and Control Technologies for Additive Manufacturing (AM)”. With a key research thrust to develop precision AM systems, Dr. Zhao studies various advanced manufacturing (e.g., 3D/4D/Bio/Nano/Hybrid AM) technologies for fabricating multi-scale, multi-material and multi-functional structures and systems in demanding applications.
 Dr. Stephen Ludwick is the Director of Mechatronic Research for Aerotech, Inc., where he has worked on the development of high-precision motion systems since 1999. He is also an Adjunct Associate Professor in the Department of Mechanical Engineering and Materials Science at the University of Pittsburgh, and serves as Editor-in-Chief for Precision Engineering: The Journal of the International Societies for Precision Engineering and Nanotechnology. Dr. Ludwick holds a B.S. degree in Mechanical Engineering & Engineering and Public Policy from Carnegie Mellon University, and S.M. and Ph.D. degrees in Mechanical Engineering from the Massachusetts Institute of Technology.
 Dr. Jason Fox
Title: Effect of Position and Orientation on Surface Topography in Laser Powder Bed Fusion of Nickel Superalloy 625
Description: As parts built through additive manufacturing (AM) increase in complexity, a strong understanding of the effect the as-built surface has on performance will be required. Currently, however, limited correlations between the as-build AM surface finish and part performance exists. This scarcity may stem not only from the complex AM build process, which leads to difficulty in isolating surface finish as a variable in functional correlation studies, but also from an inadequate consideration of surface characterization methods. In this work, a set of artifacts were built using a commercially available laser powder bed fusion system in nickel superalloy 625. From these artifacts, 648 unique surfaces were measured using a focus variation system. Surface height data was then characterized to identify correlations to surface position and orientation within the build chamber.
Biography: Jason C. Fox is a mechanical engineer in the Engineering Laboratory at the National Institute of Standards and Technology (NIST) and the project leader for the Additive Manufacturing Part Qualification (AMPQ) project. Jason has been studying additive manufacturing (AM) processes since 2010. Jason holds a M.S. and Ph.D. in mechanical engineering from Carnegie Mellon University, where his thesis focused on developing thermal finite element models of the AM process to understand melt pool geometry and the transient response of the melt pool to changes in process parameters. Jason also holds a B.S. in Integrated Science and Technology from James Madison University. At NIST, he has focused on measuring and understanding the surface topography of AM parts to aid inspection and qualification.
 Felix Kim
Title: X-ray Computed Tomography Probability of Detection of Additive Manufacturing Defects: Experiment and Simulation
Description: X-ray Computed Tomography (XCT) is an emerging industrial non-destructive testing (NDT) technique especially for metal additive manufacturing (AM). In AM, complex part geometry and rough surface are problematic to conventional NDT methods and techniques. The probability of detection (POD) curve is a critical component of NDT technique qualification. In this presentation, we first demonstrate a process to estimate an empirical POD curve for XCT measurements using calibrated artifacts and a statistical model incorporating reference measurement uncertainty. Empirical determination of a POD curve, however, can be costly in both time and money with limited number of XCT measurements. The defect location in the sample, for example, can influence detectability, but it is not realistic to empirically capture the effects at all different locations for wide ranges of defect sizes. Therefore, we additionally explored the possibility of incorporating simulated defect conditions not studied in the experiments to estimate a more comprehensive POD curve. The simulation code validation process will be discussed, and a comparison of the empirical and simulated data will be made. An advanced statistical model was developed to incorporate the effects of signal response variation and image thresholds for both experimental and simulated data to predict future signal responses and POD curves. The results also informed us of an improved POD physical artifact designs.
Biography: Felix Kim is a mechanical engineer in the Engineering Laboratory of National Institute of Standards and Technology (NIST), where he is currently applying X-ray Computed Tomography techniques to help qualify additive manufacturing parts and processes. He has been with NIST for 5 years. He holds B.S. and Ph.D. in civil engineering from University of Tennessee, Knoxville. He also holds M.S. in structural engineering from Georgia Institute of Technology. He has a broad experience of using both neutron and X-ray computed tomography to study various materials such as granular/porous materials, composite materials, and additively manufactured materials.
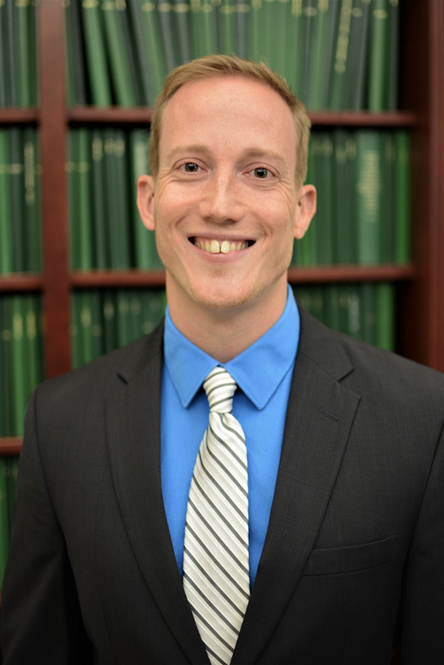
 Samuel Ludwig and Kuldeep Mandloi
Title: Metrology, Sensing and Modelling for Laser Powder Bed Fusion
Description: After a brief introduction to AM activities at UNC Charlotte, Sam Ludwig will describe the design, fabrication and operation of an instrumented build plate tested in the NIST Additive Manufacturing Metrology Testbed. The goal of this project was to develop a new method of in-situ monitoring of the laser powder bed fusion additive manufacturing process. An ultrasonic sensor attached to the underside of the build plate demonstrated sensitivity to cracking during the LPBF process. An overview of results from multiple experiments and future recommendations will be discussed.
Next, Kuldeep Mandloi will discuss modelling the powder spreading process which plays a key role in the quality of the manufactured parts. Some of the important parameters are the powder particle size distribution, spreader-type (roller or blade), spreader speed, size and shape of the particles. The discrete element method was used to study the effect of these parameters on the quality of the powder bed. The interactions between the particles is modeled using Hertz-Mindlin contact model and Hertz-Mindlin with JKR contact model for studies of the effect of cohesiveness of particles on powder bed quality. Numerical models were validated using the Dynamic Repose Angle (DRA) is used. We have introduced quantitative measures for powder bed quality in the form of Discretized Volume Fraction (DVF) and Particle Flow Rate (PFR) for the layering process. Factors studied include: cohesiveness of the particles, spreader shape, particle size and shape, and the distribution of particle sizes. As DVF and PFR decrease and DRA increases, the potential for cavities and shifting defects increases due to increase in cohesiveness. Use of fixed particle size in the simulations leads to higher DRA than when a normal distribution of particle sizes is considered. The roller geometry provides better bed quality than blade type geometry.
Biography:
Sam Ludwig completed his BSME and MSME at UNC Charlotte in May 2020. His graduate research work was carried out under the direction of his advisor Chris Evans and his mentor at NIST, Brandon Lane. Sam is currently transitioning to a full-time position at Lawrence Livermore National Laboratory.
Kuldeep Mandloi is a PhD student in at UNC Charlotte doing research under the supervision of Harish Cherukuri and Chris Evans and currently is secretary of the ASPE student chapter at UNCC. His current research focuses on Heat transfer and fluid flow analysis of additively manufactured microchannels modelling powder spreading in SLM. He earned his MS in Advanced Material Science and Technology from National Institute of Technology Durgapur, India with a master’s thesis focuses on design of the thermal shield for 650 Mhz cryomodule used in a proton linear particle Accelerator.

Moderator:
Christopher Evans is a professor in Mechanical Engineering and director of the Center for Precision Metrology at UNC Charlotte with research interests ranging from freeform optics manufacturing to metrology for metal AM. Prior to joining academia, he spent 9 years at Zygo Corporation as Chief Metrologist and Senior Research Scientist and 16 years in a variety of roles at the National Institute of Standards and Technology in Gaithersburg, MD.
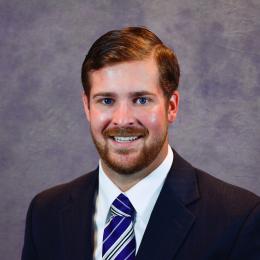 Thomas Feldhausen
Title: Distortion Monitoring and Control for Directed Energy Deposition
Description: Hybrid manufacturing, or the combination of additive and subtractive manufacturing in a single system, allows for rapid production of large components. It has been shown that the capability to transition between the processes can result in up to a 68% reduction in cycle time. However, previous investigations have shown that some thin-walled hybrid manufactured components cannot be produced without distortion compensation. As a result, a new research area in distortion compensation for hybrid manufacturing has been identified. Preliminary work in this field implements a guess-and-check approach, but this research demonstrates that some compensation processes can be automated. This research investigates the use of on-board inspection systems to characterize distortion for in-process toolpath trajectory generation and system control. To quantify the outcome of this investigation, geometrical accuracy of the components will be measured with structured light scanning techniques. This research builds the foundation that is needed to accurately manufacture components using the hybrid manufacturing process.
Biography: Thomas A. Feldhausen is a research staff member and technical lead for hybrid manufacturing with the Manufacturing Systems Research Group at Oak Ridge National Laboratory. Thomas’ research at ORNL’ Manufacturing Demonstration Facility utilizes hybrid manufacturing, a combination of additive and subtractive (machining) manufacturing, to provide industrial solutions for component repair, tooling and tooling repair, advanced energy systems, aerospace, and automotive applications. Thomas received his B.S. and M.S. degrees from Kansas State University in mechanical engineering in 2016 and 2017 respectively.
Moderator:
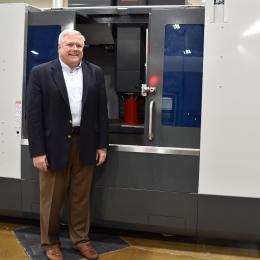 Scott Smith leads ORNL’s advanced machining and machine tool research, focusing on developing systems, processes, sensors and controls. Prior to joining ORNL, Scott Smith was a professor and chair of mechanical engineering at the University of North Carolina at Charlotte. He was honored by American Society for Mechanical Engineers with the William T. Ennor Manufacturing Technology Award for his “innovations in the field of machining dynamics that have been commercially implemented, leading to significant improvements in machine tool performance and enabling the creation of thin monolithic machined structures in a variety of industries.” Prior to his work at the University of North Carolina, he served as the assistant director for technology at the U.S. Advanced Manufacturing National Program Office. He holds 11 patents and is one of 17 U.S. fellows of the International Academy for Production Engineering (CIRP). He earned his PhD in Mechanical Engineering from the University of Florida where his research focused on the dynamics of machine tools, vibrations, and machine design.
 Brett Compton
Title: Heterogeneous Deformation in 3D-Printed Cellular Structures
Description: Cellular materials offer unique combinations of mechanical properties (strength and stiffness), functional properties (thermal insulation, vibration damping, fluid flow, etc.), and low density that conventional engineering materials cannot achieve. For this reason, they find application in a broad range of technical and non-technical fields. Additive manufacturing (AM) offers considerable new opportunities to further tailor the properties of cellular materials in ways that have never before been feasible. For example, natural cellular materials utilize gradients in cell size, shape, and the composition of cell walls to optimize structural and functional performance, but only recently have engineers been able to replicate such gradients using AM technologies to systematically study their properties. This talk will focus on a new method to impart gradients to cellular structures that is tailored for material extrusion AM. A combination of numerical and experimental studies demonstrates the potential for 3D-printed graded honeycombs and motivates the development of a particle tracking approach to quantify the heterogeneous deformation that is a common feature in printed, graded cellular structures. Damping in cellular materials will be discussed, as will opportunities to utilize novel multi-material 3D printing to create multi-functional cellular structures.
Biography: Brett is currently an assistant professor of mechanical engineering at the University of Tennessee, Knoxville. Brett moved to UTK from Oak Ridge National Laboratory where he was a staff scientist in additive manufacturing (AM) at the Manufacturing Demonstration Facility (MDF). The MDF is the Department of Energy’s flagship additive manufacturing center, and his research there included thermo-mechanical modeling of large-scale polymer composite AM and in situ thermal imaging of metal powder bed systems. Prior to moving to Tennessee, Brett was a Postdoctoral Research Fellow in the Lewis Group in the School of Engineering and Applied Sciences and the Wyss Institute for Biologically Inspired Engineering at Harvard University, where he developed materials and techniques to 3D print short fiber-reinforced thermoset polymer resins to enable bio-inspired, lightweight polymer composites with controlled fiber orientation. Brett received his Ph.D. in Materials from the University of California, Santa Barbara, and his B.S. in Mechanical Engineering from the University of Kentucky. Research areas include additive manufacturing of polymer and ceramic composites, understanding the effects of processing parameters on fiber orientation and material anisotropy, novel methods to control fiber orientation in printed composites, and understanding the effects of hierarchy multi-scale composite structures.
Moderator:
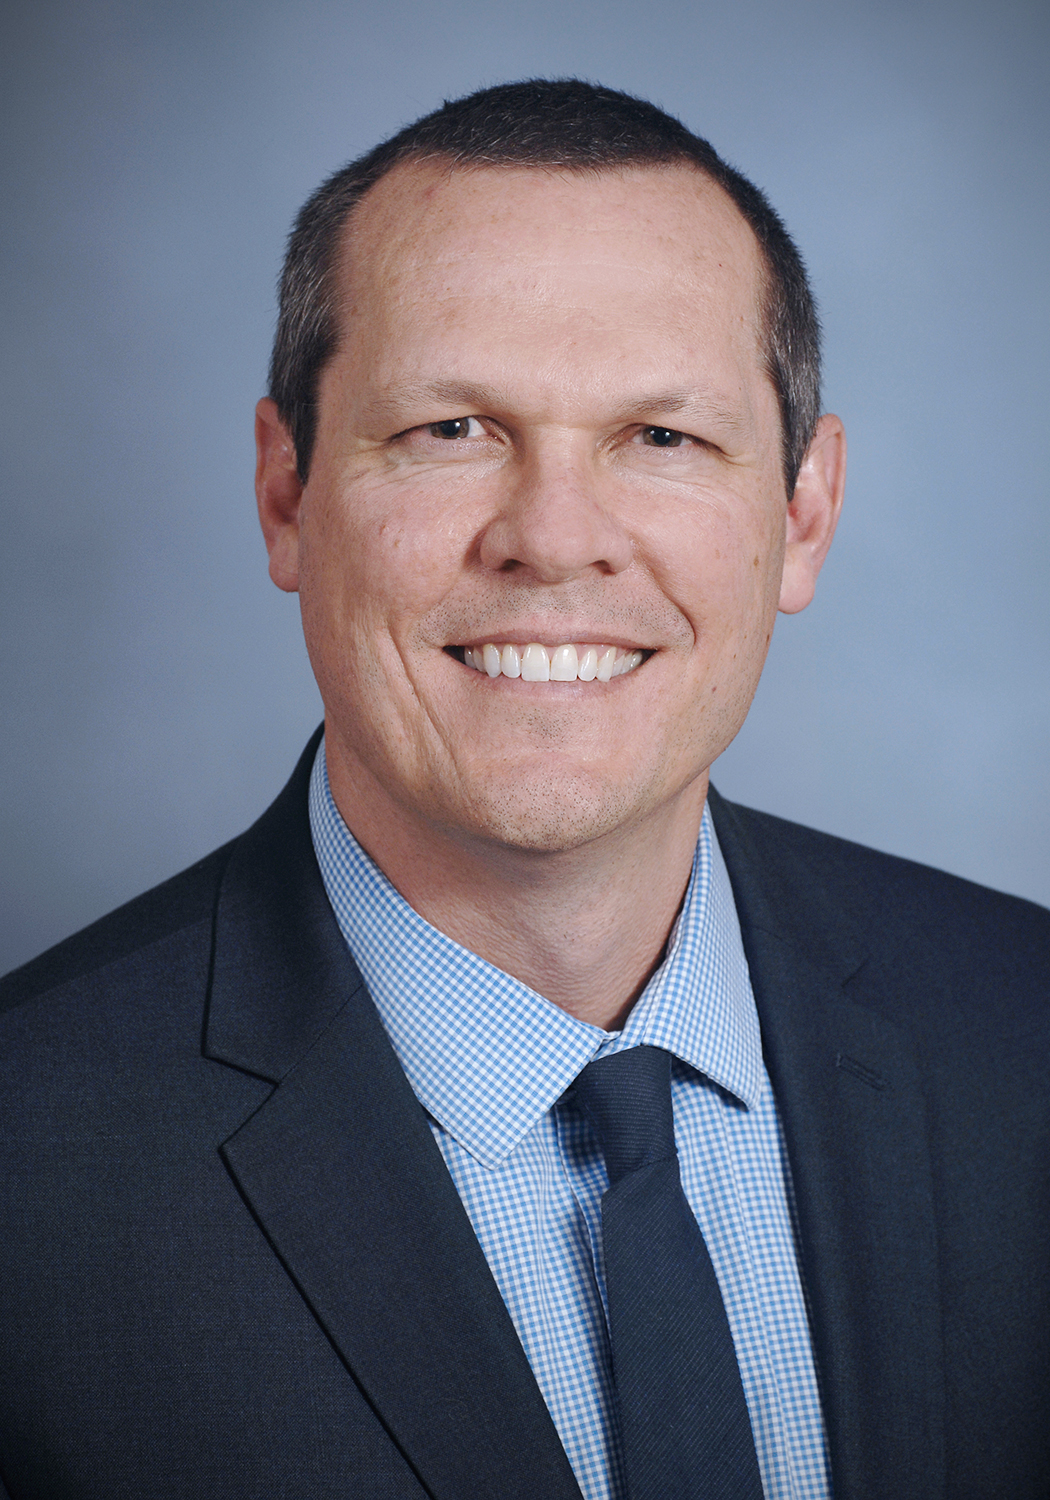 Dr. Tony Schmitz received his BS in Mechanical Engineering from Temple University in 1993, his MS in Mechanical Engineering from the University of Florida in 1996, and his PhD in Mechanical Engineering from the University of Florida in 1999. Schmitz completed a post-doctoral appointment at the National Institute of Standards and Technology (NIST) and was then employed as a Mechanical Engineer from 1999-2002. During this time, he was also a lecturer at Johns Hopkins University. Schmitz accepted an appointment in the University of Florida’s Department of Mechanical and Aerospace Engineering (UF MAE) in 2002 and joined the Mechanical Engineering and Engineering Science Department at the University of North Carolina at Charlotte in 2011. Dr. Schmitz accepted a joint faculty position between the University of Tennessee, Knoxville (UTK) and Oak Ridge National Laboratory (ORNL) on August 1, 2019. The appointment is a split position between the Mechanical, Aerospace, and Biomedical Engineering department at UTK and ORNL’s Manufacturing Demonstration Facility.
His professional recognitions include: 2019 SME Frederick W. Taylor Research Medal, 2019 UNC Board of Governors Award for Teaching, 2019 Best Presentation ASPE Annual Meeting, 2019 NAMRI/SME Outstanding Paper (47th North American Manufacturing Research Conference), 2018 51st Annual Bank of America Award for Teaching Excellence, 2017 SME David Dornfeld Manufacturing Vision Award, 2016 SME College of Fellows, UNC Charlotte Lee College of Engineering 2013 Undergraduate Award in Teaching Excellence, 2012 Temple University Alumni Fellow, 2011 Sports Emmy Award (NBC Learn) for the Science of NFL Football video series, 2010 NAMRI/SME Outstanding Paper (38th North American Manufacturing Research Conference), 2009 UF MAE Teacher of the Year, 2005 SME Outstanding Young Manufacturing Engineer award, 2004 Journal of Tribology Best Paper Award, 2003 Office of Naval Research Young Investigator Award, 2003 National Science Foundation CAREER Award, 1999 Measurement Science and Technology Highly Commended Article, 1999 National Research Council Postdoctoral Research Associateship (NIST), 1999 Temple University Gallery of Success Inductee, 1998 Department of Energy/National Academy of Engineering Integrated Manufacturing Predoctoral Fellowship, and 1994 National Science Foundation Graduate Traineeship.
 David Bue Pedersen
Title: Industrial Open Architecture AM Systems
Description: Servo error pre-compensation and feedrate optimization are often performed independently to improve the accuracy and speed of manufacturing machines. However, this independent approach leads to unnecessary trade-offs between productivity and quality in manufacturing. In this session, a novel linear programming approach will be proposed for combined servo error pre-compensation and feedrate optimization, subject to contour error (tolerance) and kinematic constraints. The incorporation of servo error pre-compensation into feedrate optimization allows for faster motions without violating tolerance constraints. Experiments carried out on a precision motion stage are used to demonstrate up to 47% reduction in cycle time without compromising part quality using the proposed compared to the independent approach.
Biography: David Bue Pedersen is the research group lead of the Additive Manufacturing Group at the Technical University of Denmark, co-founder and co-owner of Euler3D, a high-speed AM and computer vision start-up and the founder of the Open Additive Manufacturing Initiative which has been established in order to build transparency around industrial AM systems that as of now is shrouded in proprietary secrecy. The AM group at the Technical University of Denmark has over the last decade establish a unique research infrastructure including vat photopolymerization and laser powder bed fusion systems that push the boundaries of the technologies beyond industrial state of the art.
 Dr. Shan Lou
Title: Surface Texture Measurement and Characterisation of Additively Manufactured Parts
Description: Additive manufacturing (AM) technology has the potential to change the paradigm for manufacturing. To facilitate the uptake of AM technologies into a wider range of applications and foster AM’s full commercialisation, there must be focused attempts to overcome existing technical barriers. A major challenge among these is AM’s poor as-built surface finish. This talk will introduce a research pipeline starting from AM surface texture measurement (experimental & simulation), impact of AM surface texture on dimensional measurement (experimental & simulation), AM surface texture characterisation (areal & 3D), and linking surface texture with AM process optimisation and AM product functioning. Major talk will be the update of recent AM metrology research work done in the Future Metrology Hub.
Biography: Dr. Shan Lou is a Senior Research Follow working within Centre for Precision Technologies (CPT) and ERSRC Future Metrology Hub, University of Huddersfield
Shan received his BEng and MEng at Central South University (China) in 2002 and 2006 respectively. He then started his professional career in precision metrology at Hexagon Metrology, a leading global company for metrology industry. He worked as a R&D engineer for the company’s primary product, PC-DMIS. In 2010, Shan moved to University of Huddersfield to pursue a PhD degree whilst working for Hexagon Metrology on a part-time basis. He received his PhD degree in 2013 with his dissertation examined by Prof. David Whitehouse and Prof. Tom Thomas.
Currently, Shan is focusing on metrology for additive manufacturing (AM) and X-ray computed tomography (XCT) metrology. He was recently awarded an EPSRC New Investigator Grant and a RCUK Catapult Researchers in Residence Grant. Working with the National Physical Laboratory (NPL), the Manufacturing Technology Centre (MTC) and the MAPP Hub of University of Sheffield, he is investigating and developing surface texture measurement and characterisation methods for AM components, with the aim of linking surface texture with AM process optimisation and AM product functionality. Shan is currently leading a team of 1 postdoc and 5 research students.
Shan is an editorial board member of the journal ‘Bio-design and manufacturing’, a committee Member of the British Standard Institution (BSI) TDW/4/4/1 (XCT), a participating member of ASTM Committee F42 Additive Manufacturing Technologies, a Chartered Engineer of the Institution of Mechanical Engineers, a member of the Institute of Mathematics and its Applications, and a Fellow of the Higher Education Academy.
 Dr. Gerritt Oosterhuis
Title: Recent Experiences with Parts for Thermal Control
Description: For about 7 years now, VDL ETG has been investigating and using metal Additive Manufacturing as a method to create functional structures that are otherwise impossible. These structures have proven to enhance the performance of the machines that they design and build for customers. Realizing functional benefits with AM has proven most valuable for flow & thermal applications thus far. Making manufacturable as well as functionally superior designs has been learned over the course of several projects. These experiences have also been shared with the ASPE community in several tutorials on this topic. Currently, the program focusses on combining metal AM with precision style post-machining operations like diamond machining, cleaning, and functional coatings. An update will be given on the lessons learned and an outlook will be given towards future precision applications.
Biography: Gerrit Oosterhuis has graduated in 2006 as a PhD from Eindhoven University, in Applied Physics, on the topic of model scale research for ships. After that he joined the Dutch applied technology institute TNO for 7 years where he worked on multiple different flow and thermal related projects, mainly in the area of additive manufacturing of metal conductive micro-structures. During his TNO period he grew from a research engineer into the more senior role of system architect. After TNO he joined VDL ETG in 2013 as a system architect, with a specialty in thermal and flow applications. Also, since his start at VDL, he has been heading the technology program on Additive Manufacturing. The AM technology program at VDL ETG focusses on applying metal AM to precision applications in the high-tech / semiconductor industry.
Moderator:
 Antonius Peijnenburg works for VDL Enabling Technologies Group as deputy general manager, with a focus on technology. VDL ETG is a contract development and manufacturing supplier for high-tech equipment industries. In addition, he works as research fellow at the High-Tech Systems Center of Eindhoven University of Technology. He received his MSc in electrical engineering from TU/e in 1992, subsequently joined Philips at the Center for Industrial Technology where he worked on a broad variety of mechatronics projects. Starting in 2002, he served Philips’ North America branch as an expat Mechatronics System Manager for five years. In 2008 he became R&D manager for the FEI Phenom desktop electron microscope and in 2010 joined VDL ETG.
[divider top=”no” divider_color=”#ffffff” link_color=”#000000″ size=”4″]

Fred van Keulen
Title: Recent Progress in Topology Optimization for Accuracy and Precision
Description: Topology or layout optimization has over the last decades matured into a serious engineering tool. The gradual transition of 3D printing for rapid prototyping into a serious additive manufacturing technique boosted the interest in topology optimization. Today, the combination of topology optimization and additive manufacturing is often recognized as the route forward to fully exploit the design freedom offered by modern additive manufacturing.
In this presentation recent developments and challenges will be shown relevant for settings involving accuracy and precision. Rarely these settings permit that we only focus on the in-service performance. In most cases, it is necessary to also consider the manufacturing to avoid a costly process of redesign after topology optimization. Manufacturability is the most obvious aspect to be include in the topology optimization, however also manufacturing-induced effects may lead to severe problems which could be mitigated by incorporating them into the topology optimization. For in-service performance, challenges primarily emerge from transient, nonlinear and multi-physics operating conditions.
Biography: Fred van Keulen received his M.Sc. degree in mechanical engineering (Cum Laude, 1987) and his doctorate (Cum Laude 1993) both from the Delft University of Technology. In 1999 he was rewarded an “Antoni van Leeuwenhoek” chair. As a visiting research he stayed in Japan, Switzerland, UK, Denmark and the US. From 2005 to 2010 he was the first chairman of the new Department PME at TU Delft and was scientific director of the Delft Centre for Mechatronics and Microsystems. He was the PI of the national research programme MicroNed, total budget 58MEuro, 25+ partners from industry and academia. He was vice chair of the NanoNextNL programme on Micro- and Nanotechnology, total budget 250MEuro, 100+ partners from industry and academia. His research activities focus on mechanics and optimization with typical applications such as micro/nano devices and the associated high-performance tools and instruments. In his research manufacturing aspects play a key role.
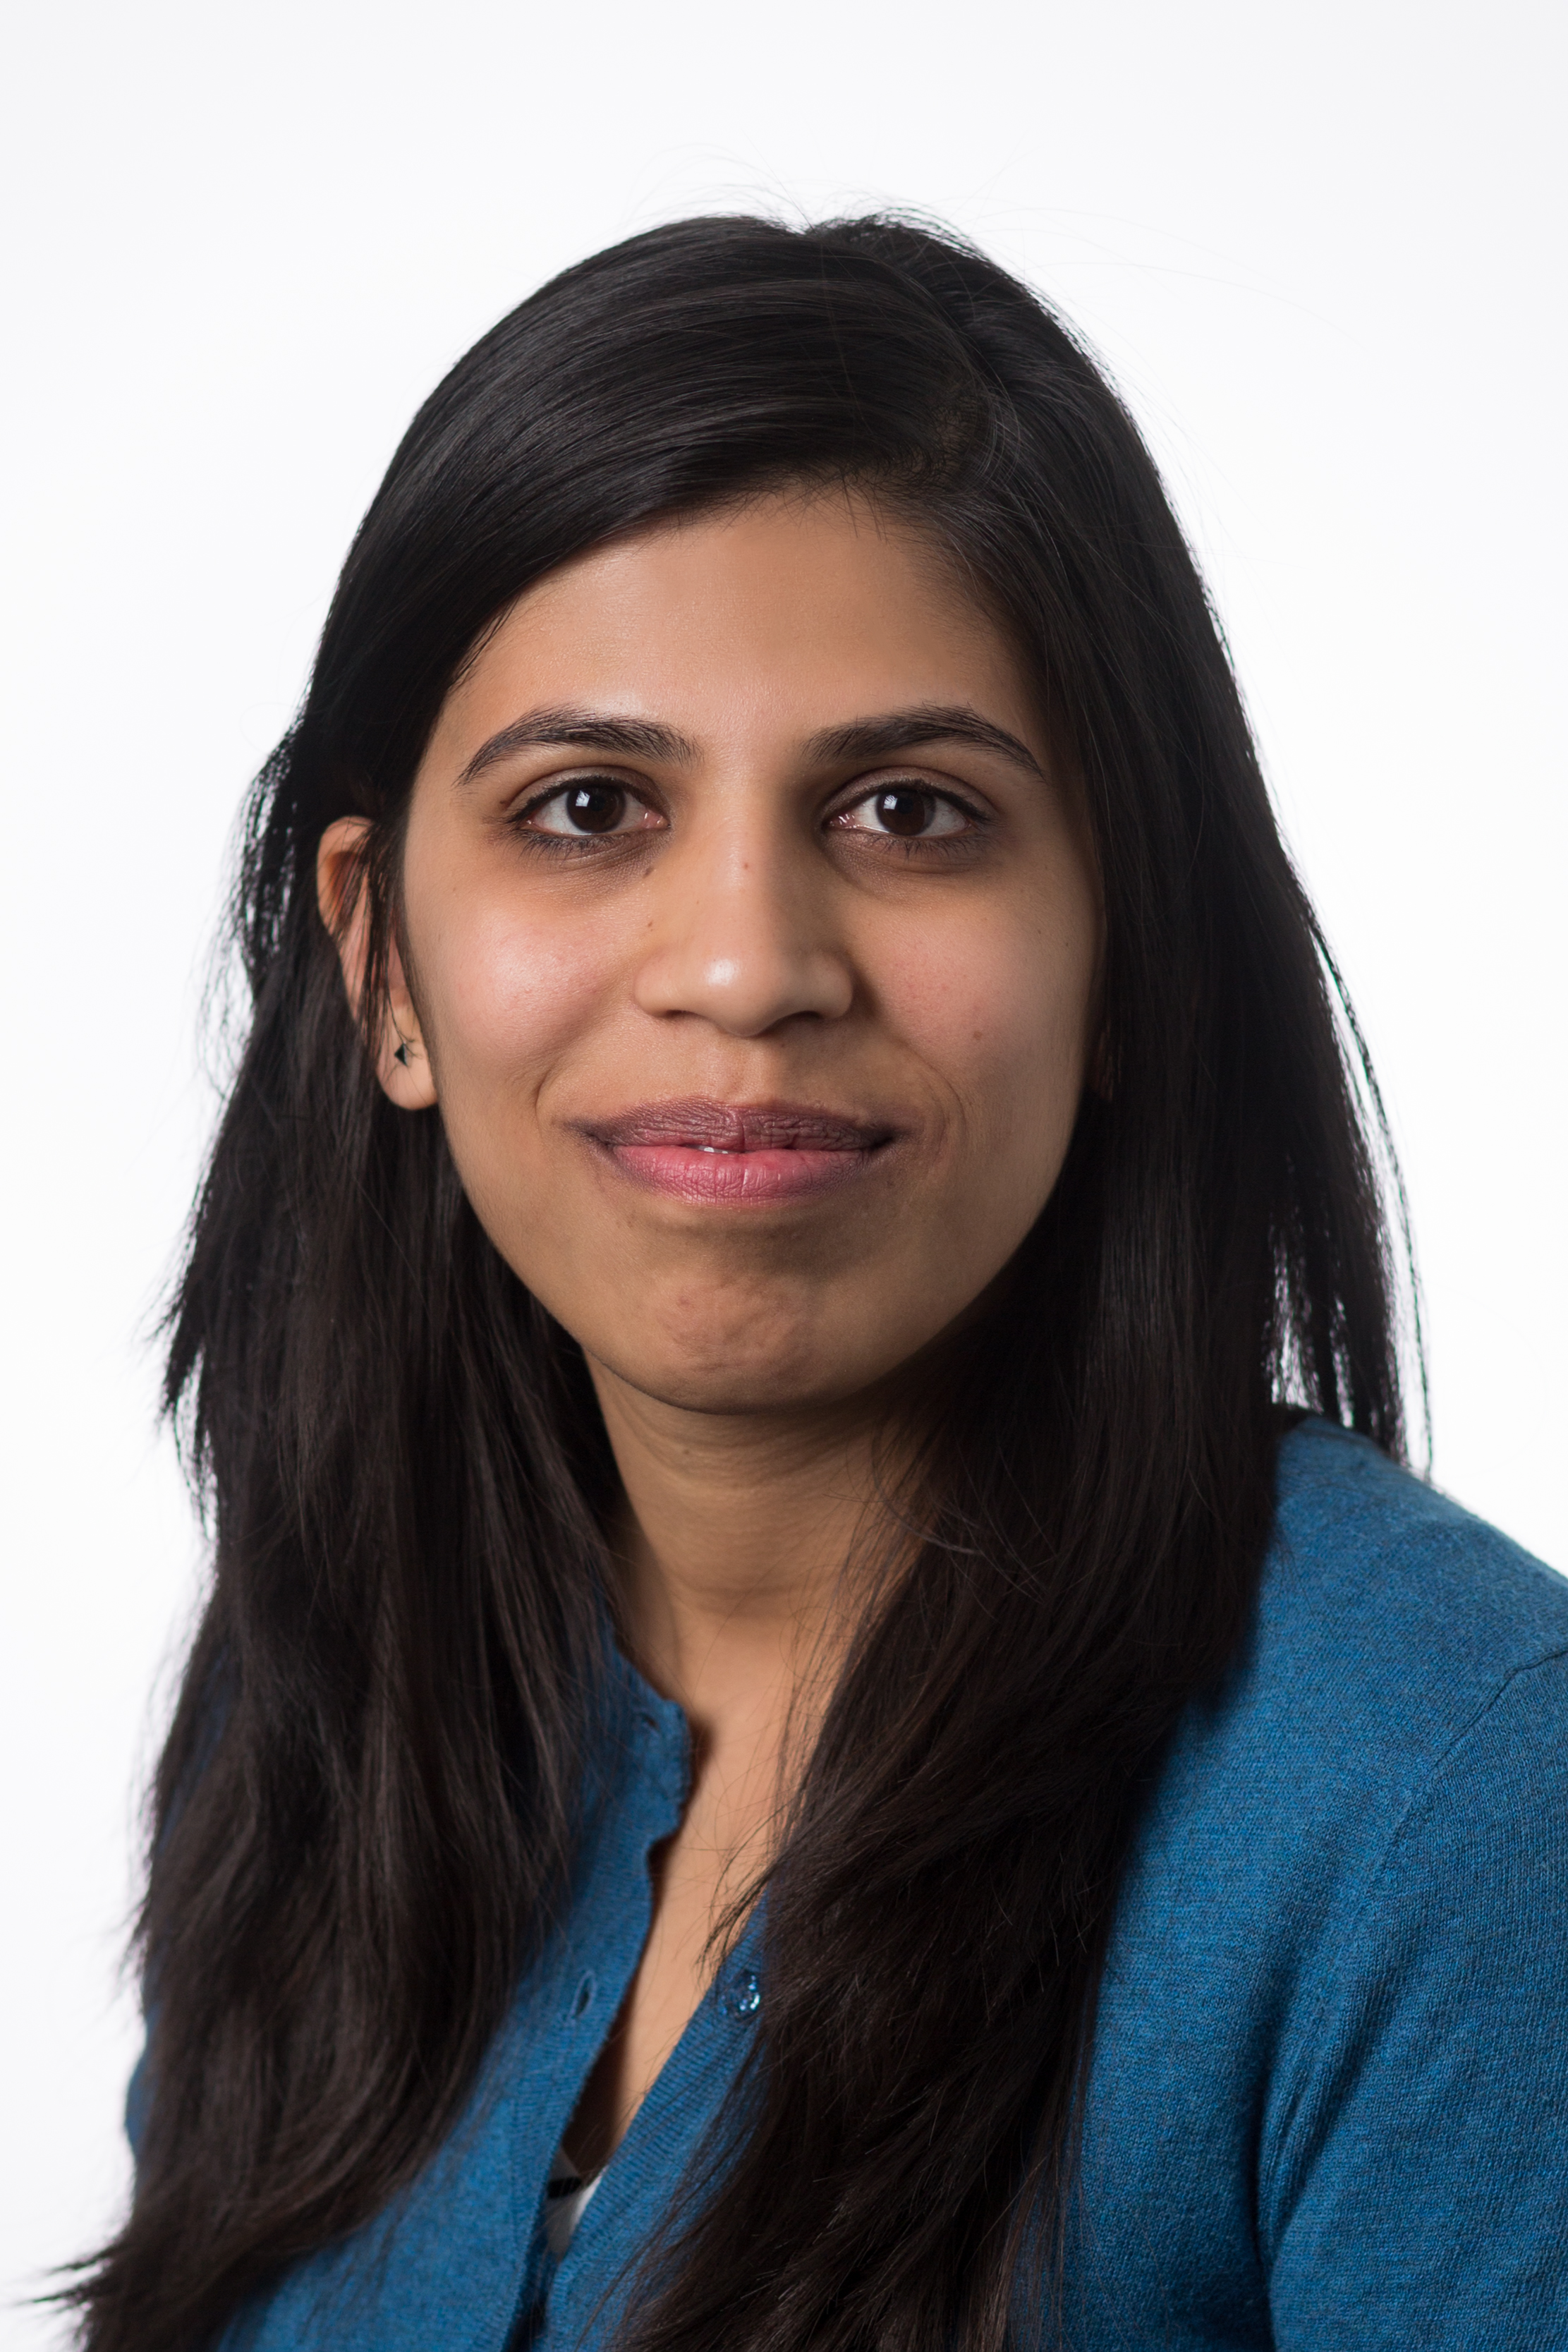 Arushi Dhakad
Title: Instruments for Measuring AM Surface Roughness
Description: Additive manufacturing (AM) techniques are relatively new and bring new challenges for repeatable and accurate surface inspection. One reason for this is the design freedom enabled by additive which allows fabrication of lightweight, complex, and/or intricate geometries. Additionally, surface texture of as-built AM parts can be extremely rough and/or uneven compared to conventionally manufactured parts. At present, post-build processing steps are often needed to achieve the desired surface texture of the end-use application. At EWI, we have had exposure to several AM surfaces – diverse in terms of AM techniques, specific build conditions, materials and/or surfaces subjected to different post-build finishing methods. In our attempts to understand surface texture qualitatively and/or quantitatively, we have used a few surface measuring methods – focus variation, laser confocal, tactile probing, and white light interferometry. In this session we hope to share our practical experiences with the instruments we have in-house.
Biography: Arushi Dhakad, is a project engineer at EWI. She holds a master`s degree in Production Systems Engineering from The State University of New York at Buffalo and a bachelor`s degree in Mechatronics Engineering from Manipal University. Over the last 5 years, she has worked understanding surface interactions of additively manufactured parts and their surface quality as a result of it. She is currently working on evaluating existing AM surface finishing methods for metal powder bed additive manufacturing and attempting to quantify the variability of it.
Moderator:
 Daniel Kowalik
Based at EWI’s Buffalo Manufacturing Works location in western New York, Dan directs the ASTM AM CoE U.S. Industry Consortium, of which EWI is a founding partner. He leads the effort to bring together additive manufacturing (AM) industry leaders via the consortium, and to identify challenges, advance standards, and drive innovation in AM. Dan is also the lead AM engineer on projects initiated through the Additive Manufacturing Consortium (AMC), operated by EWI.
Dan has more than 20 years of experience in manufacturing engineering and management in the aerospace industry. Before joining EWI in 2020, Dan was a director of engineering at ITT Enidine, where he developed a new IoT device called Sentinel and developed additively manufactured parts for aerospace applications. Previously, Dan was engineering manager at Moog, where he helped create the metal additive manufacturing center of excellence and developed qualification processes for AM-manufactured components. While also at Moog Dan was the design lead on flight critical actuators for aerospace applications.
Daniel has his B.A. and M.S. in Mechanical Engineering from University at Buffalo with a focus in material science.
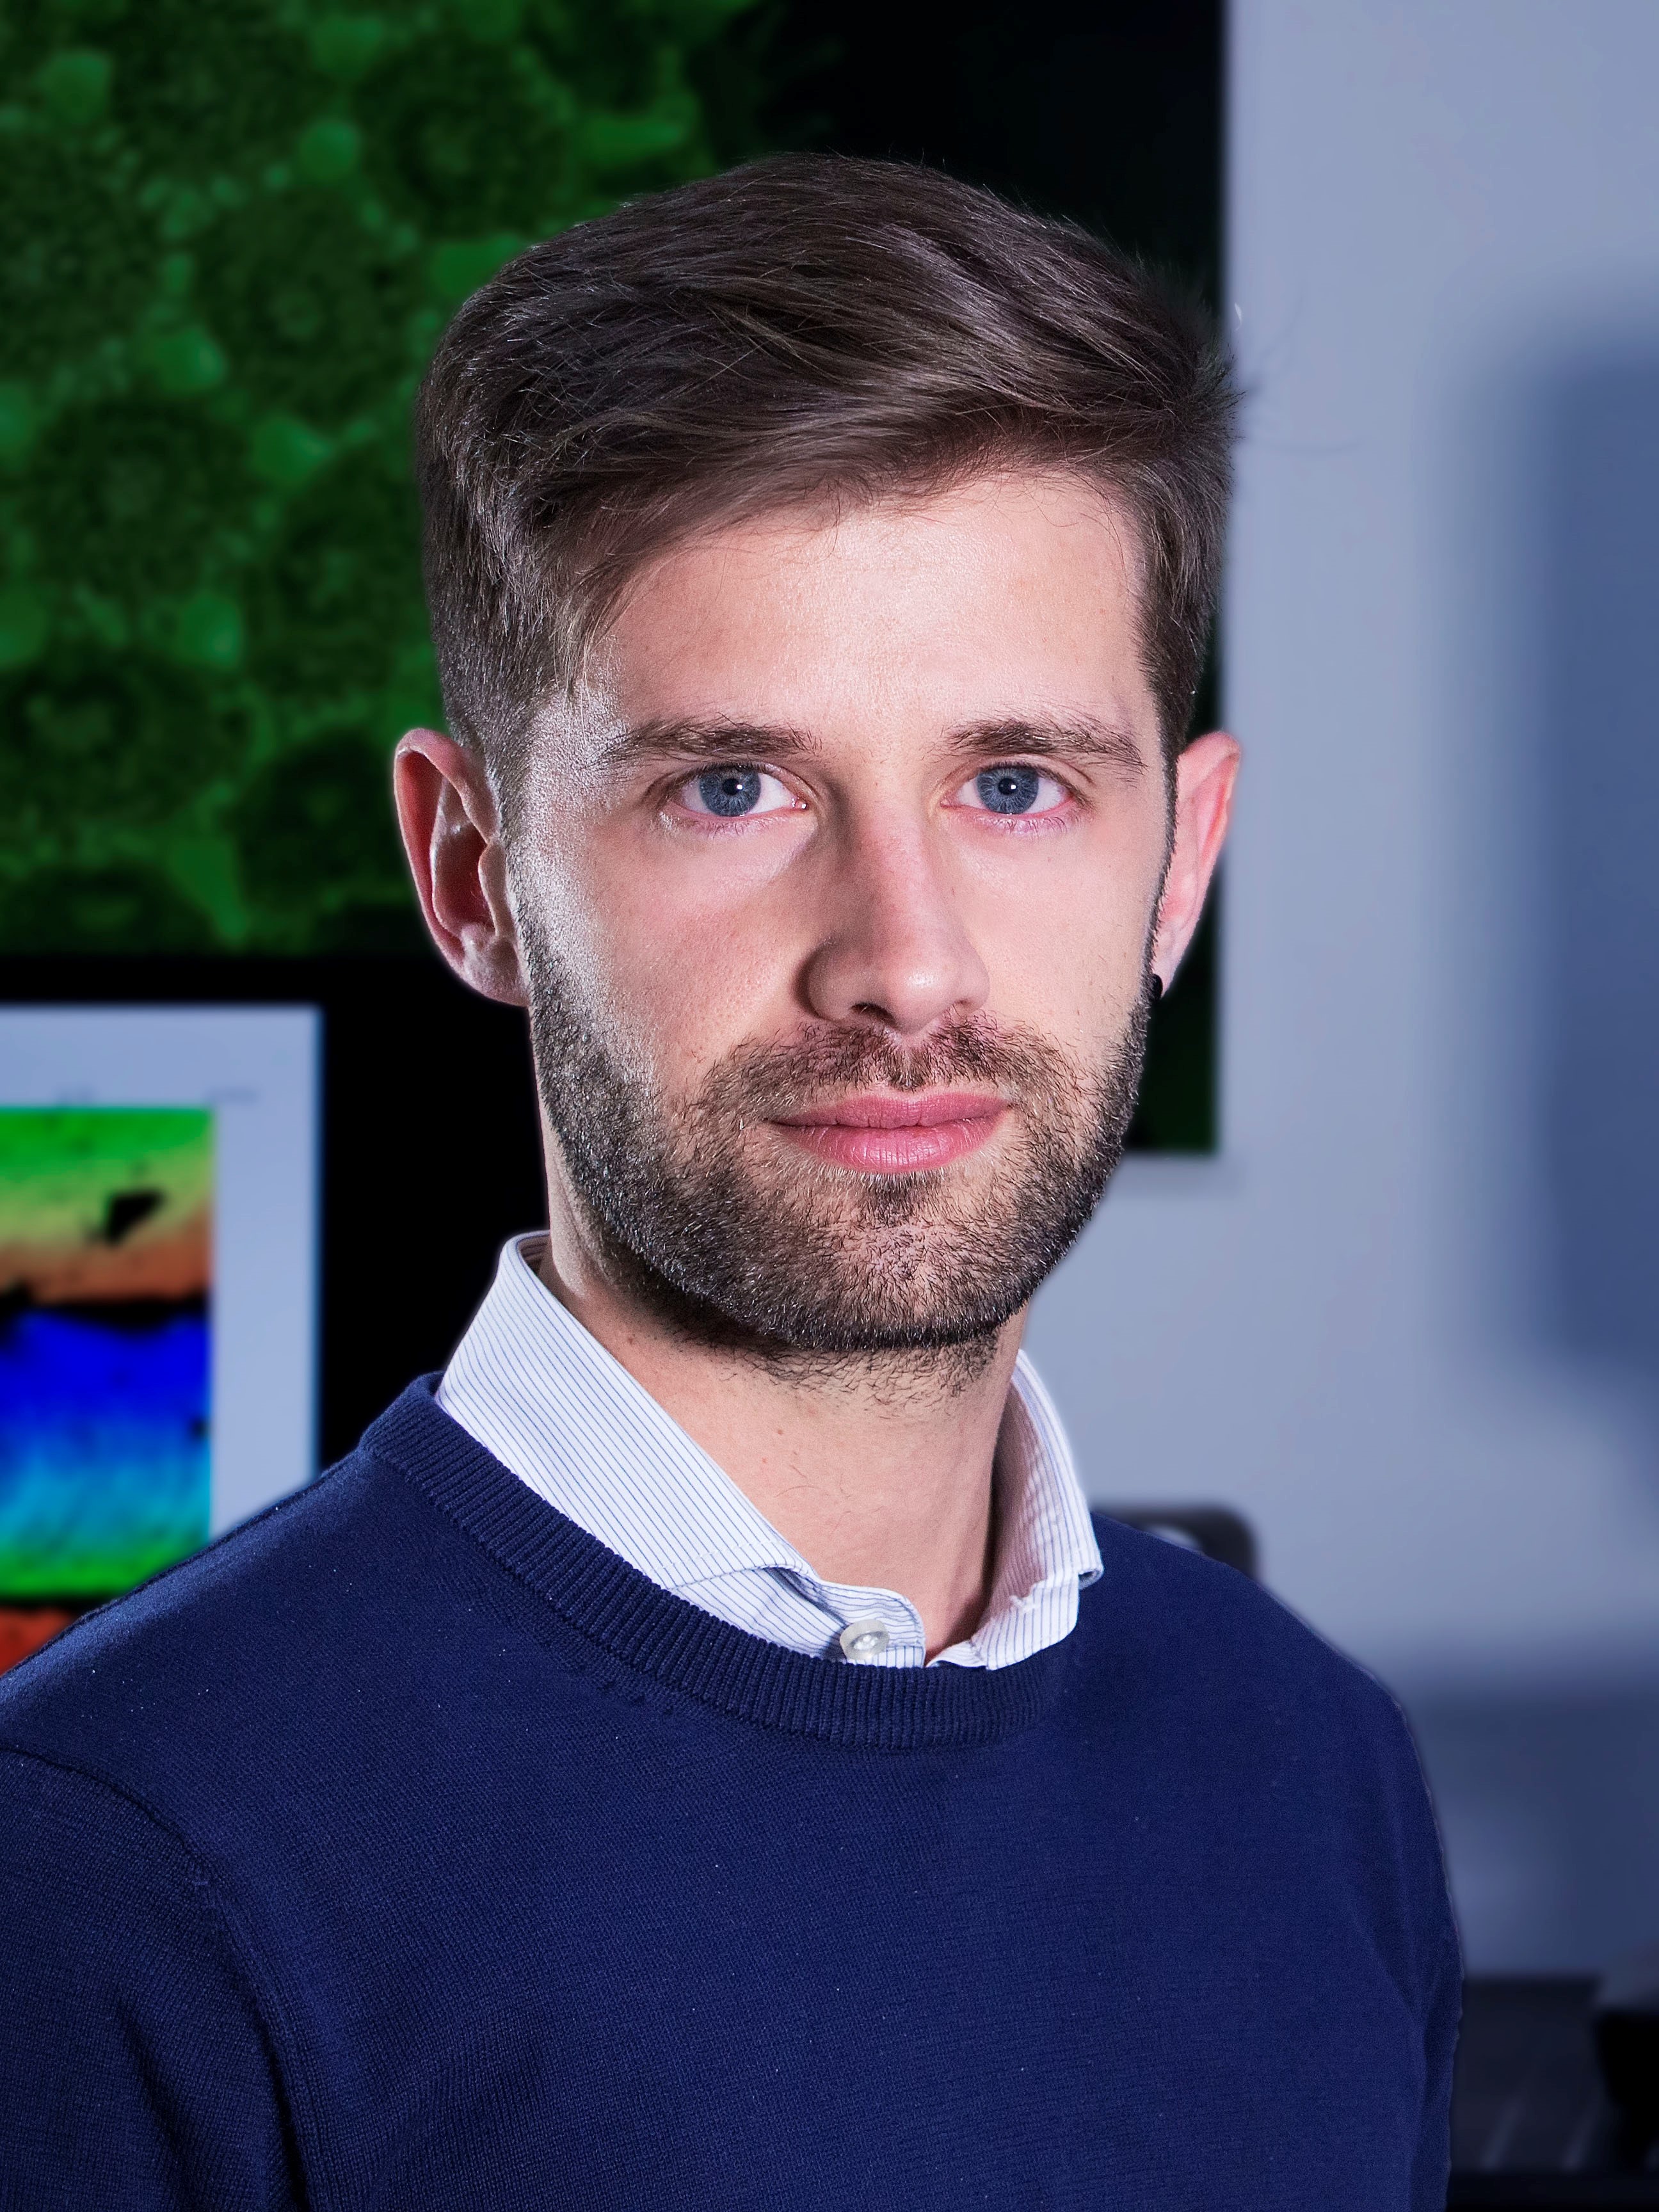 Filippo Zanini
Title: Dimensional Metrology and Computer Tomography for Precision AM
Description: Coordinate metrology is fundamental for additive manufacturing (AM) to enable access to key industrial sectors. X-ray computed tomography (CT) is an advanced coordinate measuring technique that allows performing non-destructive and complete quality evaluation of AM products.
One of the key research activities at the University of Padova is focused on the traceability of CT measurements. In particular, reference objects and methods are developed for evaluating CT metrological characteristics and for determining task-specific measurement uncertainty related to CT dimensional measurements, surface topography measurements and porosity measurements.
Biography: Filippo Zanini is assistant professor at the University of Padova (Italy), with teaching assignments in Additive Manufacturing and Computer-Integrated Manufacturing. His research experience is in the areas of precision manufacturing and coordinate metrology, including traceability of X-ray computed tomography for advanced manufacturing applications.
Moderator:
S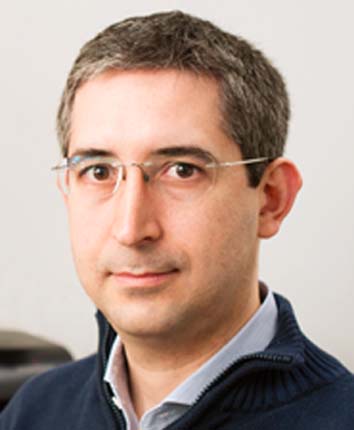 imone Carmignato is professor of Manufacturing Engineering at the University of Padova. His main research interests are in the area of precision engineering, with focus on manufacturing metrology. Research topics include: advanced coordinate metrology, industrial X-ray computed tomography, in-process measuring systems and precision additive manufacturing. He is author of patents and over 200 scientific publications in international journals, proceedings and books. He has been chairman, organiser and keynote speaker of several international conferences, and received national and international awards, including the ‘Taylor Medal’ from CIRP, the International Academy for Production Engineering.
 Dr. David Bate
Title: ISO 10360 Part 11: Latest Progress Towards an XCT Dimensional Verification Standard & 3in1 Project: Combining Measurements on AM Parts
Description: Introduction to Nikon Metrology “ISO 10360 Part 11: Latest Progress Towards an XCT Dimensional Verification Standard” & “3in1 Project: Combining Measurements on AM Parts”
In this session I will introduce Nikon Metrology and its products in the X-ray microscopy market. The latter two short talks will cover:
- An update on the development of the ISO 10360-11 standard for CT metrology, following recent meetings in Mexico and online we are getting very close to the formal DIS and FDIS ballots. This talk will briefly outline a couple of the major issues left to be resolved as examples of the work still to be done.
- The second part will discuss the work carried out as part of the 3in1 project. This project aimed (and succeeded) in using X-ray CT to combine measurement of surface roughness, defects and linear measurements from a single scan of an additively manufactured part.
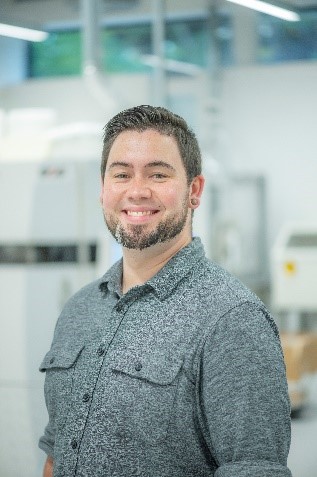
Biography: Dr. David Bate obtained a first degree in Physics from Oxford University and a PhD in Laser Spectroscopy from Imperial, these have led to a career in instrumentation and the use of electron beams. After a brief post doc developing a Laser Ablation mass spectrometer he spent 10 years working on Scanning Electron Microscopes, initially in the electron optical design of the columns but latterly on the High Vacuum detectors (leading to my first patent).
After this he moved to X-tek systems to work on EO design of the X-ray columns, as a small company he obtained experience in many areas including sales and marketing. David has now come full circle and am in charge of the Research team with Nikon X-tek systems looking at technologies for future projects on a 2-3 year timescale.
 Dr. Adam Thompson
Title: Good Practice in Metal Additive Surface Measurement
Description: Metal additively manufactured (AM) surfaces are extremely difficult to measure – a large range of relevant scales, steep slopes, non-uniform optical and mechanical properties; undercuts and step-like transitions; and a wide variety of features of interest all contribute to headaches for the budding surface metrologist. In recent years, however, significant research efforts have been made to understand metal AM surfaces and there is now a wealth of knowledge available in published journal papers regarding methods for measurement and characterisation of metal AM surfaces, using a myriad of measurement instruments and characterisation paradigms.
While the research now exists, the research community is still regularly inundated with contacts from our colleagues in industry, asking for assistance in solving the types of problems that we have spent the past few years solving in academia. For many reasons, industry’s engagement with published science is generally relatively low, and the guidance arising from this recent research has not yet been well communicated to industry. As such, there remains a distinct lack of knowledge surround metal AM surface measurement in industry. In collaboration with ASTM, we are now working towards the creation of a good practice guide on metal AM surface measurement, focussed at the relative layperson conducting measurements of metal AM surfaces in industry. In this presentation, we will present the current state of this good practice guide, summarising the guidance that will be included regarding sample preparation, surface measurement, surface characterisation and reporting of results and data.
Biography: Dr. Adam Thompson has been a post-doctoral researcher in the University of Nottingham (UoN) Manufacturing Metrology Team (MMT) since October 2018. Prior to this position, Adam completed his PhD in UoN’s MMT as part of the Centre for Doctoral Training in Additive Manufacture, entitled “Surface texture measurement of metal additively manufactured parts by X-ray computed tomography”, for which he was awarded the Gertrude Cropper Scholarship postgraduate prize by UoN. In his 6 years as an active researcher, Adam has published 14 papers and a book chapter, and presented his work at over 20 international conferences. Adam’s research background is in surface topography measurement of additively manufactured parts, authoring papers on the measurement of metal and polymer parts. Adam also has expertise across metrology, having undertaken postdoctoral projects in performance verification of fringe projection and X-ray computed tomography measurement. Adam also has a deep understanding of co-ordinate and in-process measurement principles, having taught numerous undergraduate and postgraduate courses in basic advanced metrology and performed research activities in the area. Prior to his PhD, Adam taught high school physics.
 Dr. Paul A. Hooper
Title:High-Speed In-Process Imaging and Temperature Measurement for Lase Powder Bed Fusion
Description:
Biography:Dr. Paul A. Hooper is a Lecturer in the Mechanics of Materials Group in the Department of Mechanical Engineering at Imperial College London. He research focuses on additive manufacturing (AM) and he leads industry-funded projects focusing on certification of AM components. His specific interests include in-situ process monitoring, process-microstructure-performance relationships, simulation of AM processes, design for AM and new process development. He also has interests in high-strain rate material behaviour and structural integrity. He has authored over 30 journal publications, has an h-index of 16 and has one patent.
 Bradley H. Jared
Title: High Throughput Testing for Frequent AM Machine and Process Characterization
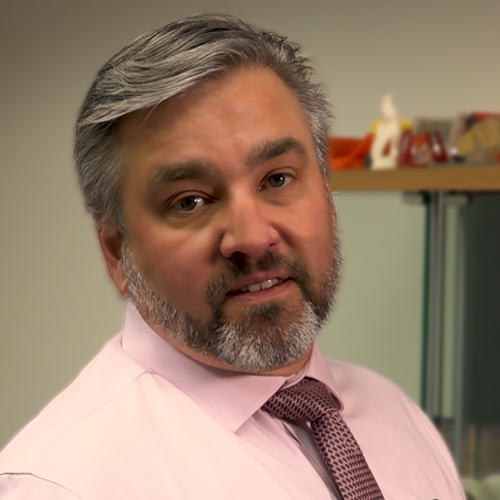
Description: Metal additive manufacturing (AM) has experienced tremendous growth in recent years finding applications across a diverse range of industries and products. Quantifying product performance margins with confidence, however, remains elusive as uncertainties abound due to variations in feedstock quality, machine performance and complex process physics. Metal AM processes are complex, coupling multiple feedstock, machine and process inputs. Build artifacts inherently capture these complex reactions in their formation, and therefore are well suited to provide a holistic statement regarding process integrity. Artifact deviations, therefore, can be used to identify the presence of global product and/or material deviations. Decoupling specific root causes can be challenging for artifacts, however, and is better suited to more comprehensive, slower diagnostic techniques. But, if important process sensitivities, performance tolerances and uncertainty distributions have been defined, artifacts can quickly and inexpensively confirm global feedstock, equipment and process stability.
A standard set of build artifacts have been used on a laser-powder bed fusion machine printing 316L stainless steel. The artifacts are an array of high-throughput tensile (HTT) samples and an ASTM standard notched Charpy sample which are sized such that they can be incorporated into most build layouts. From these samples, multiple process metrics can be evaluated. Bulk material density, surface form and finish, and impact toughness can all be evaluated quickly from the Charpy sample. Longer metallographic sectioning and/or combustion elemental analysis can also be performed when more extensive characterization is desired. The HTT samples are a custom geometry developed at Sandia to increase the throughput of mechanical property evaluations and consist of an array of 10 or 25 tensile dogbones printed as a single monolithic “cartridge”. Printed arrays can be evaluated non-destructively to quantify bulk material density, surface finish, and geometrical form. Mechanical properties, i.e. elastic modulus, yield and ultimate strength, and elongation to failure, are then captured at a rate of roughly one sample per minute. Testing occurs on a modified load frame incorporating an additional motion axis, digital image correlation (DIC) surface tracking and mechanical reference surfaces for sample mounting. Thousands of tensile samples have been tested over the past few years providing extensive process and material understandings which will be discussed.
Biography: Dr. Bradley H. Jared is a Principal Member of the Technical Staff at Sandia National Laboratories where he leads advanced manufacturing research and development within the Material, Physical and Chemical Sciences Center. His Sandia research has supported applications for optics, photonics, micro-photovoltaics, satellites and weapon systems as he has led efforts in mechanical design, meso-machining, diamond turning, metrology, ultrafast pulsed laser processing and metal additive manufacturing. He received a B.S. in mechanical engineering from the University of Tennessee-Knoxville, and M.S. and Ph.D. degrees in mechanical engineering from North Carolina State University. He spent almost a decade in industry prior to joining Sandia performing research in precision fabrication, design and assembly to support photonic and life science products at Corning and consumer display products at 3M. He has almost 25 years of experience in mechanical design and advanced manufacturing process development; having presented and published work in the fields of ultra-precision machining, metrology, ultrafast pulsed laser processing and additive manufacturing.
 Ola Harrysson
Title:Impact of Build Orientation and Surface Processing on Fatigue Behavior
Description: This talk will cover a number of non-traditional surface finishing processes on metal additive manufactured parts and the impact on the fatigue behavior. Each finishing method results in a unique surface finish that improves the fatigue behavior in different ways. Furthermore, the build orientation’s impact on the fatigue behavior has been assessed as well. The combination of these two studies has demonstrated the importance of surface finishing and build orientation for metal AM.
Biography: Dr. Ola L. A. Harrysson joined the ISE Department at North Carolina State University in Raleigh, North Carolina in 2002 after receiving his Ph.D. in Industrial Engineering from the University of Central Florida in Orlando, Florida. He has been conducting research in Rapid Prototyping and Additive Manufacturing for over 25 years. His main areas of research are medical application of additive manufacturing technologies, custom design and fabrication of orthopedic implants, medical device development, and materials development for the Metal Powder Bed Fusion Systems. He has been part of a research team that has developed a software solution for automation of sequential hybrid manufacturing using additive and subtractive processes in an automated fashion. Dr. Harrysson is the Edward P. Fitts Distinguished Professor and the Director of the Center for Additive Manufacturing and Logistics in the Fitts Department of Industrial and Systems Engineering at NC State University. He also holds faculty positions in the Departments of Material Science and Engineering and Biomedical Engineering.
Douglas Bristow
Title: Layer to Layer Control for Additive Manufacturing
Description:
Biography:

